5 easy steps for drawing a concept map
- Select a drawing medium
- Establish a main concept
- Identify related concepts
- Organize shapes and lines
- Fine-tune the map
Concept mapping is brainstorming with a purpose. You start with an overarching concept that you break down into its smaller parts, using arrows and linking words to show how ideas are connected. Common in education, concept maps are helpful in any field by driving creative and visual thinking.
If you want more information on when to create a concept map, check out our handy concept mapping guide.
A concept map helps you gain a better understanding of complex topics, see the big picture, and discover new connections through a collaborative and visual approach. With Lucidchart’s drag-and-drop shapes, flexible lines, and real-time collaboration, you can dive into any concept and map it out in a snap.

Read on to learn how to easily draw a concept map so you can communicate, problem-solve, and brainstorm more effectively.
5 easy steps for drawing a concept map
1. Select a drawing medium
Where will you create your concept map? Many people just use pen and paper or a whiteboard to make a concept map because they’re readily available, but it’s not easy to save your whiteboard scribbles or make your handwritten diagram look professional once you’re done.
Lucidchart, a cloud-based visual diagramming application, has the advantage of saving your work in a digital format, so it’s easy to share, edit, and polish your diagram. Plus, you can access your diagrams with any Internet-enabled device.
2. Narrow your focus
Whatever medium you choose to make your concept map, the next step is to determine the central idea or topic that you want to detail.
Keep in mind, if the topic is too broad, it will be difficult to organize your ideas. It might be useful to come up with a single question, called a focus question, that clearly specifies the problem or issue the concept map will help resolve. If you’re not sure where to begin, try identifying a portion of text, a classroom activity, or a tough problem that needs solving. Your concept map will consistently lead back to that question and its answer.
3. Identify key concepts
Now that you’ve selected a main concept, the next step is to write down subordinate concepts. Make a list of related ideas, and rank them from the general to the specific. This list, also known as a parking lot because you’re waiting to move these ideas to your map, should consist of around 15-25 key concepts.
Describe each concept as briefly as possible; usually one or two words per idea will suffice. Keeping your descriptions concise will prevent your map from becoming bloated and text-heavy.
4. Organize shapes and lines
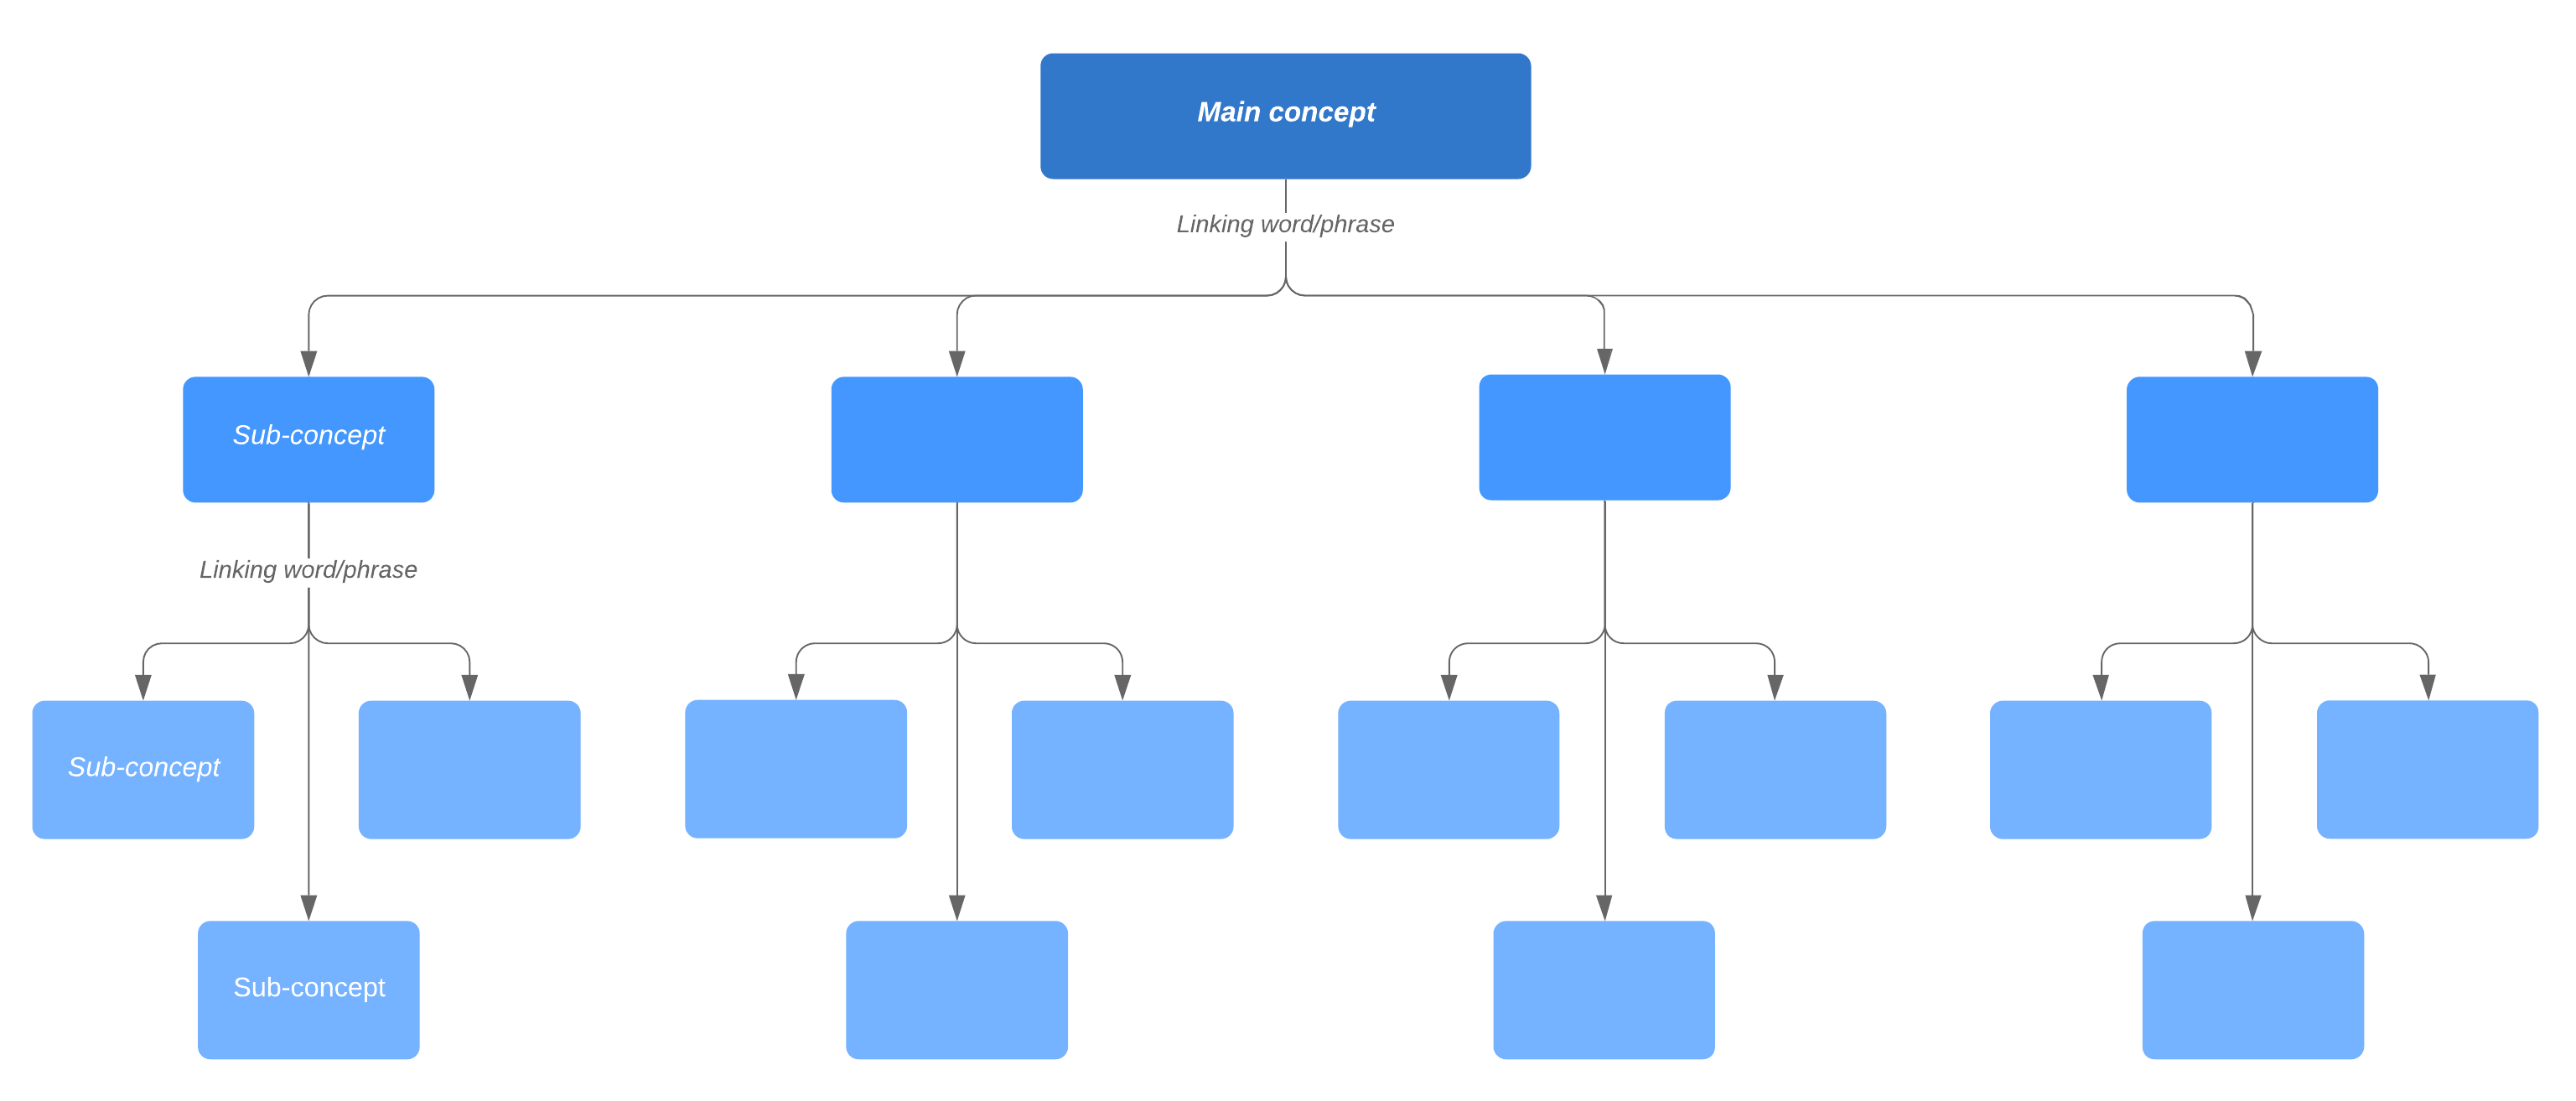
Order each of your concepts in a hierarchical format, with the most general ideas at the top of the map under your main concept and the most specific ones at the bottom. Your concept map will take form as you connect shapes with lines and pinpoint the correct location for each idea.
Concept maps typically have text, or linking words, written on each line to make sense of the relationship between a general concept and more specific ones. The text might include a specific verb like “provides” or “encompasses.”
Once you’ve created this preliminary concept map containing the basic links, add cross-links to illustrate relationships between concepts that are on the same level of specificity.
5. Fine-tune the map
As you add links to every concept, be sure to carefully examine the relationships you’re illustrating. Ask yourself questions like:
- Does every element fit well in its respective place?
- Is there a better position for this idea or group of ideas?
- Can I use a more accurate linking word to represent this relationship?
These questions will help you improve cognitive performance and challenge your knowledge on any subject.
Remember this is a preliminary map that will likely need revising. Lucidchart makes it simple to rearrange shapes on the page, add supplementary notes and comments, and even apply attractive styling to your diagram.
Concept map examples
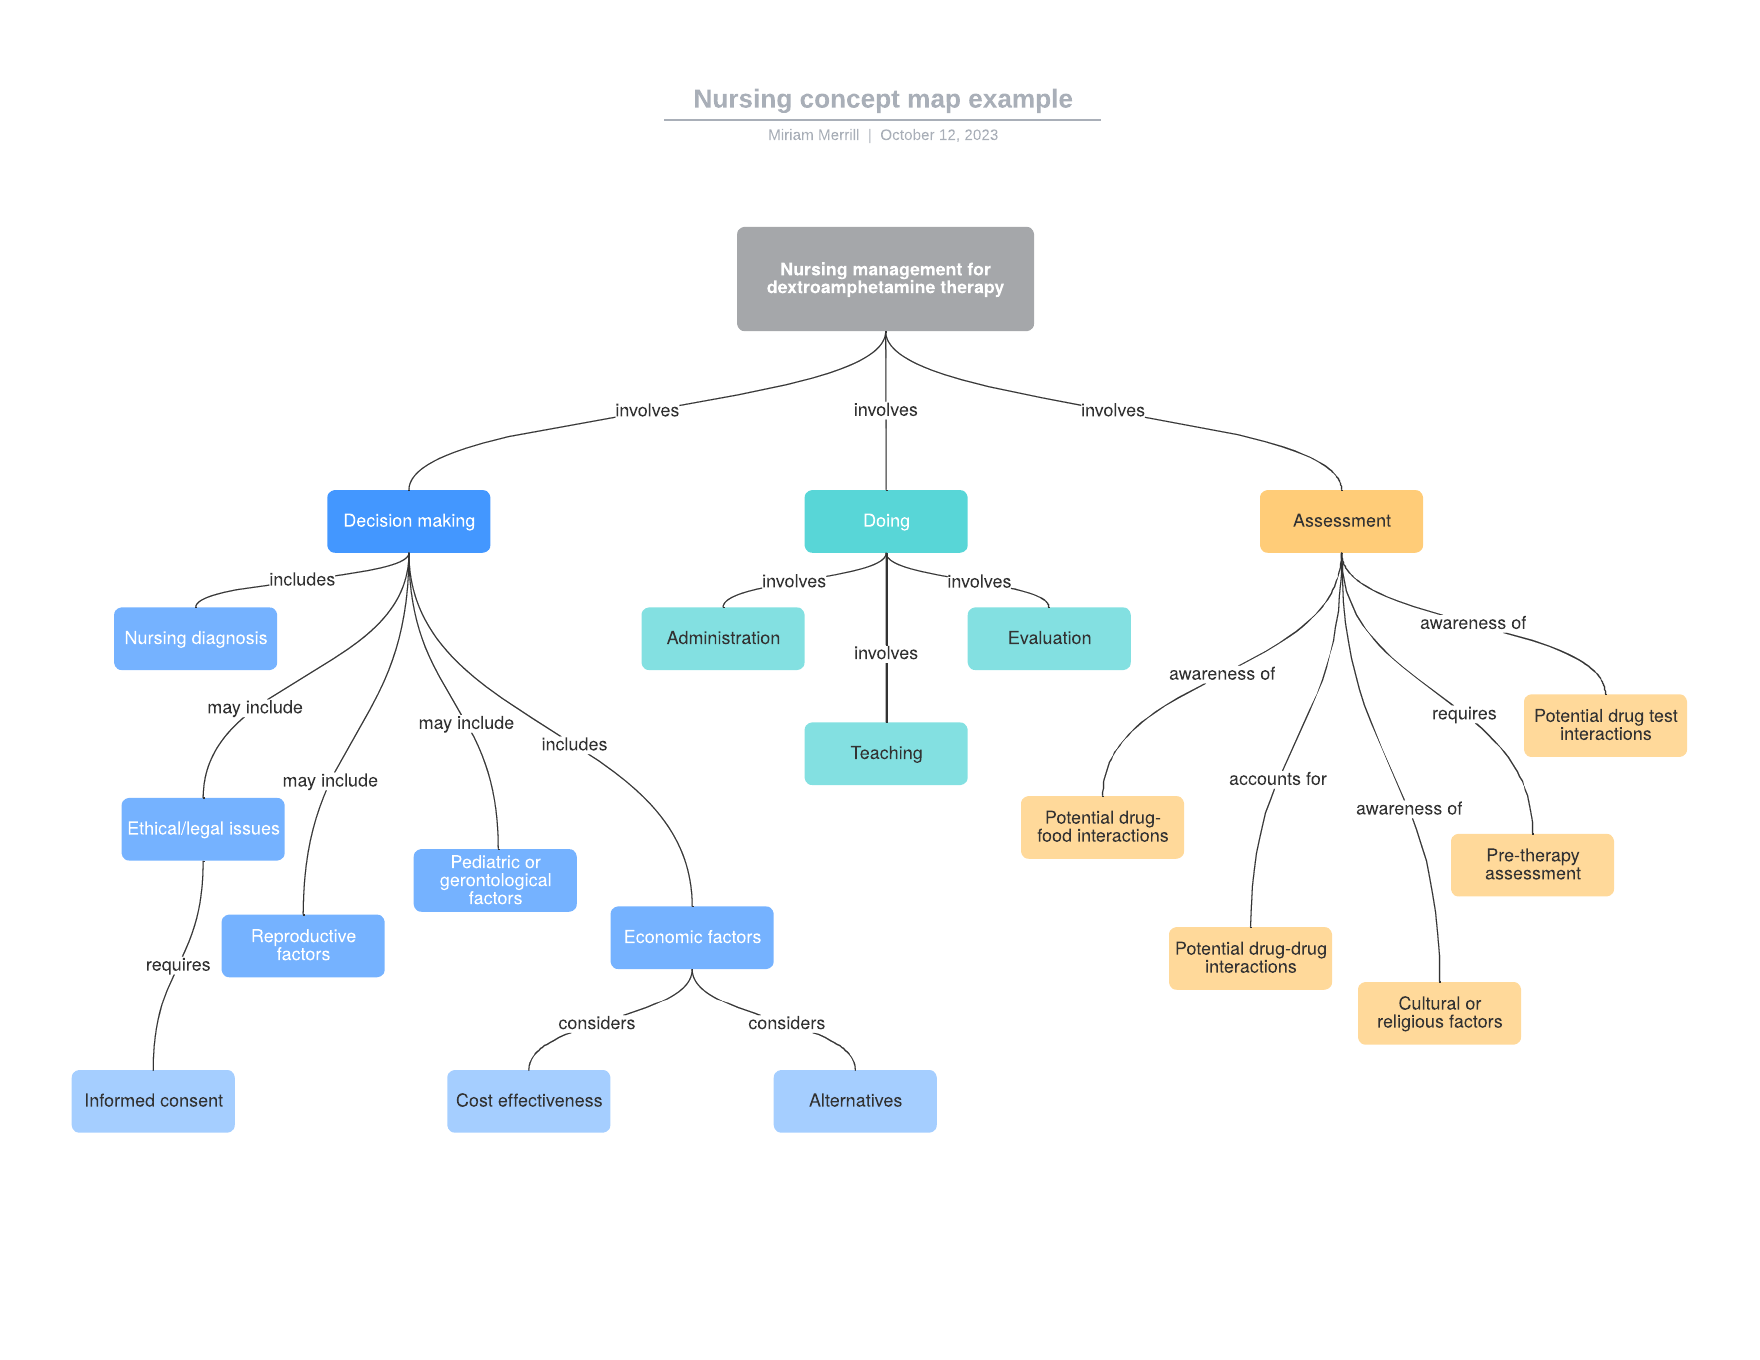
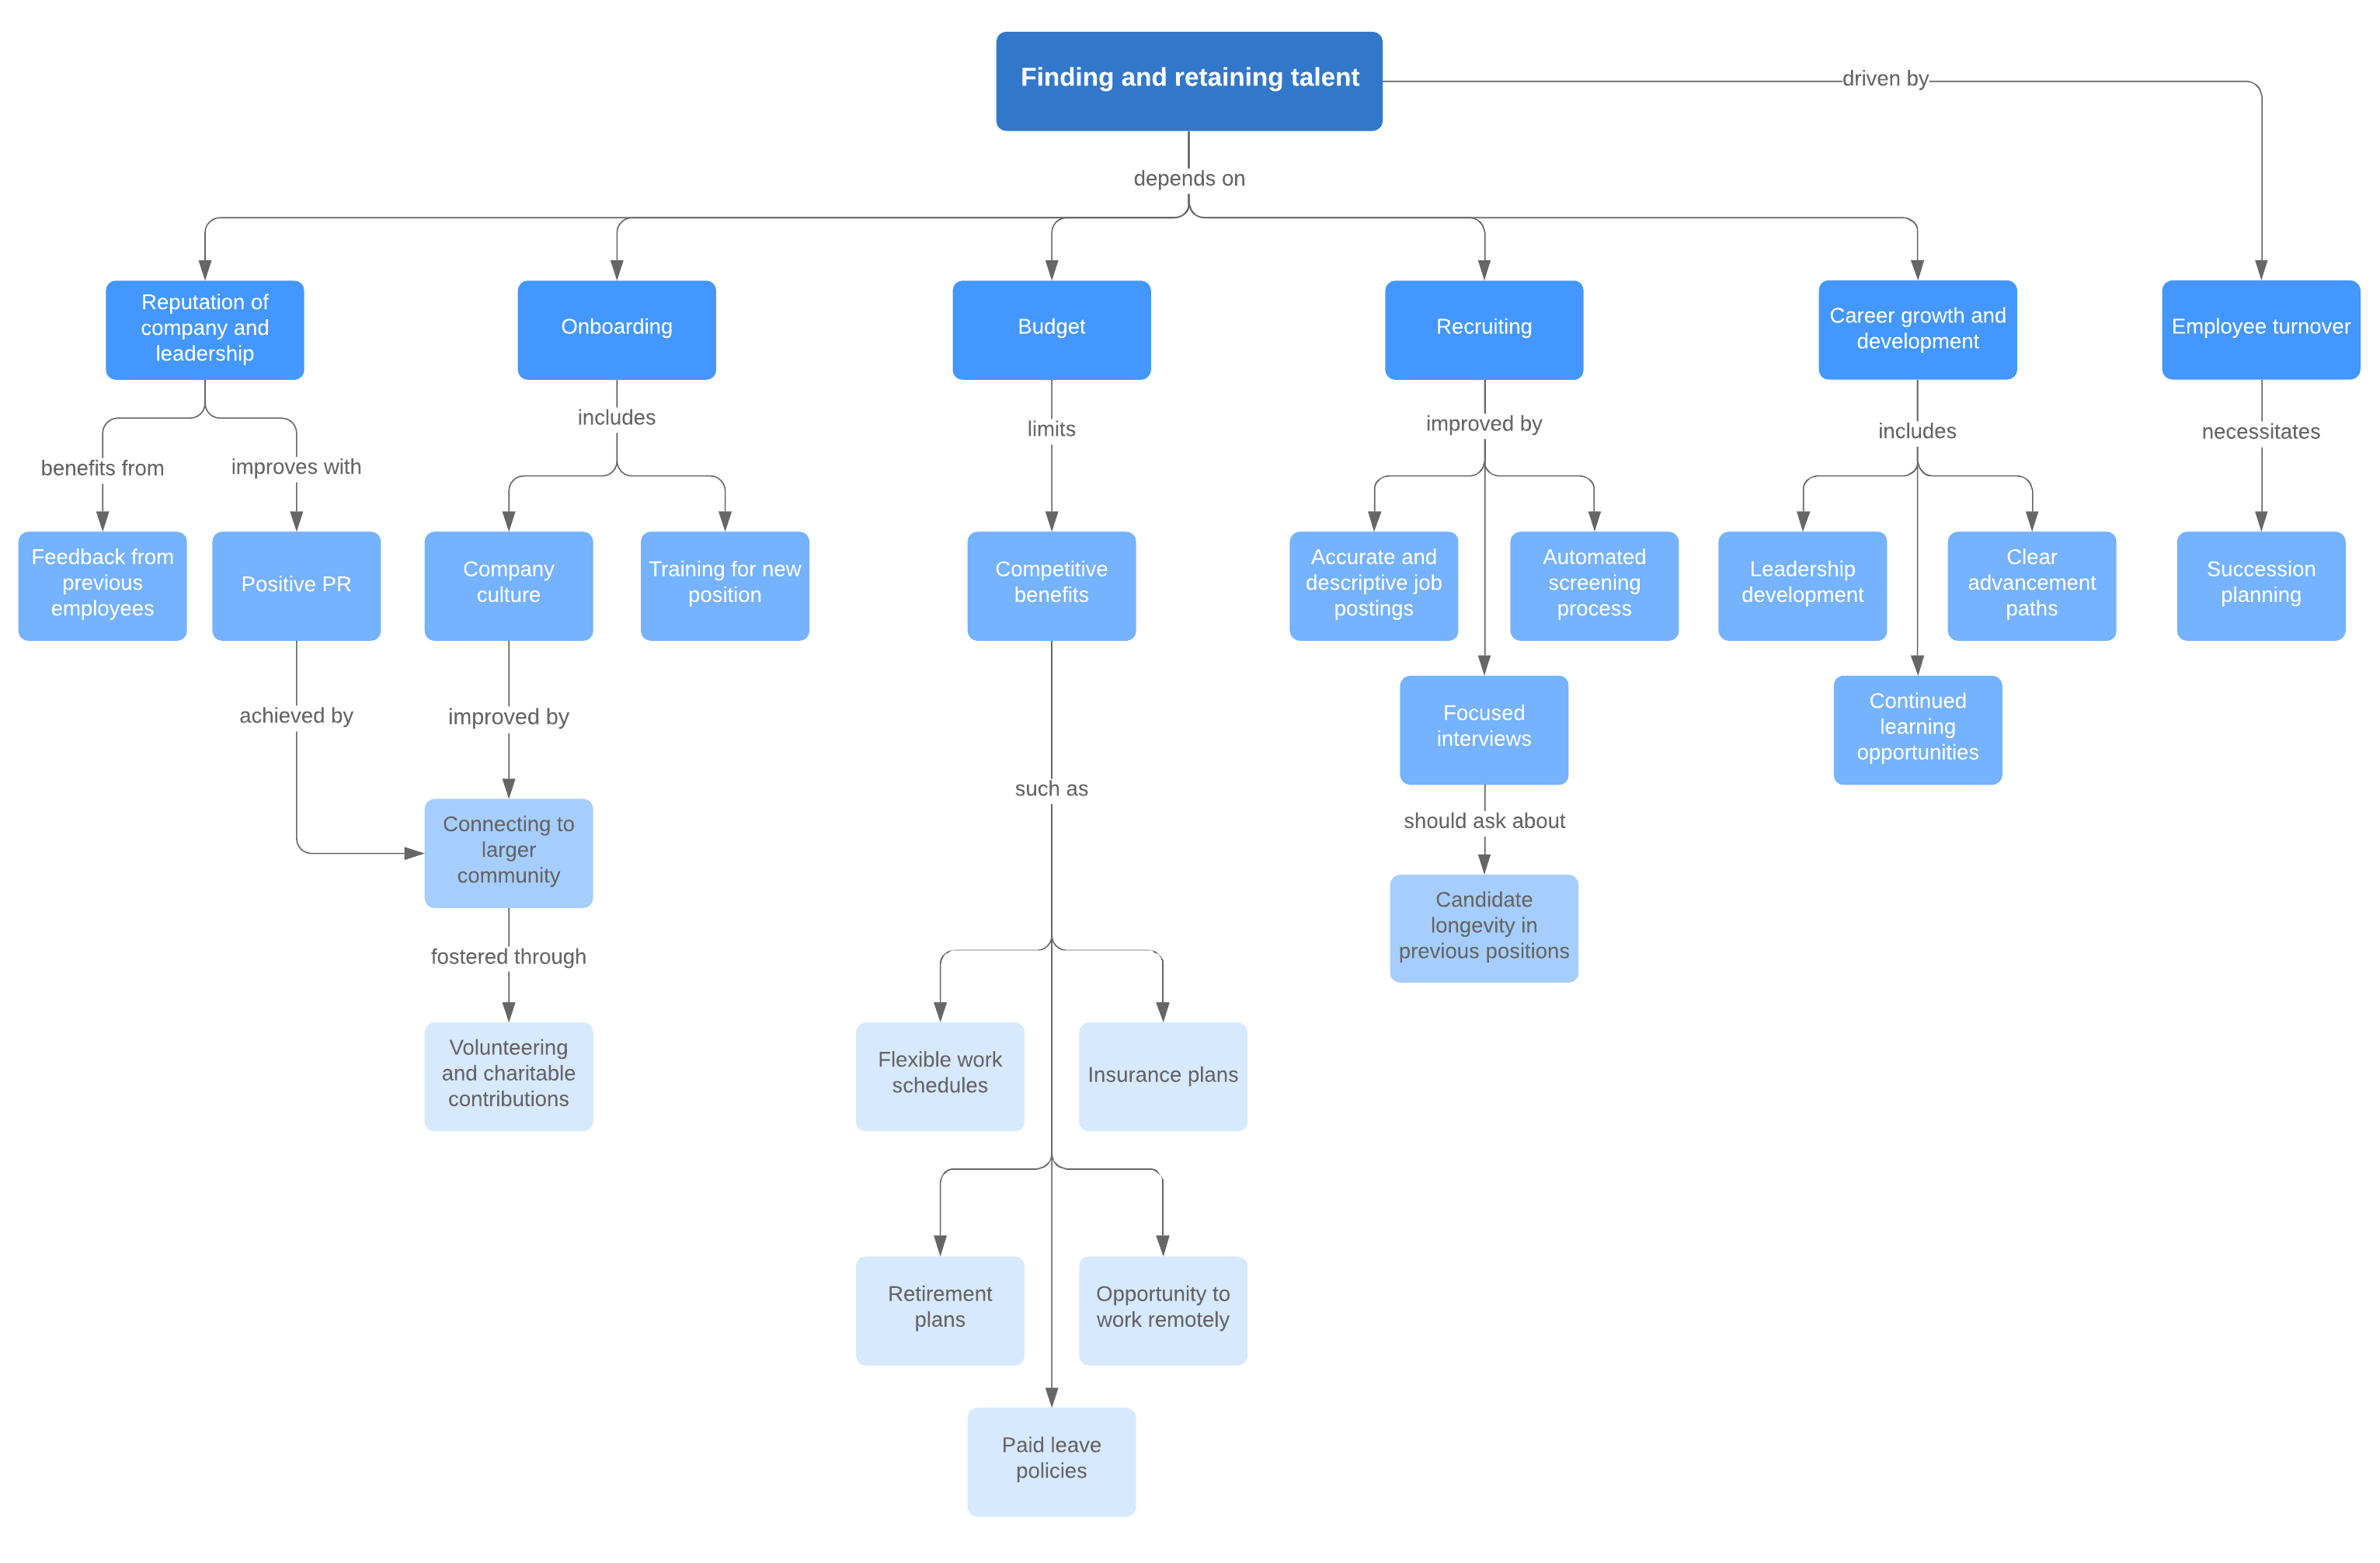
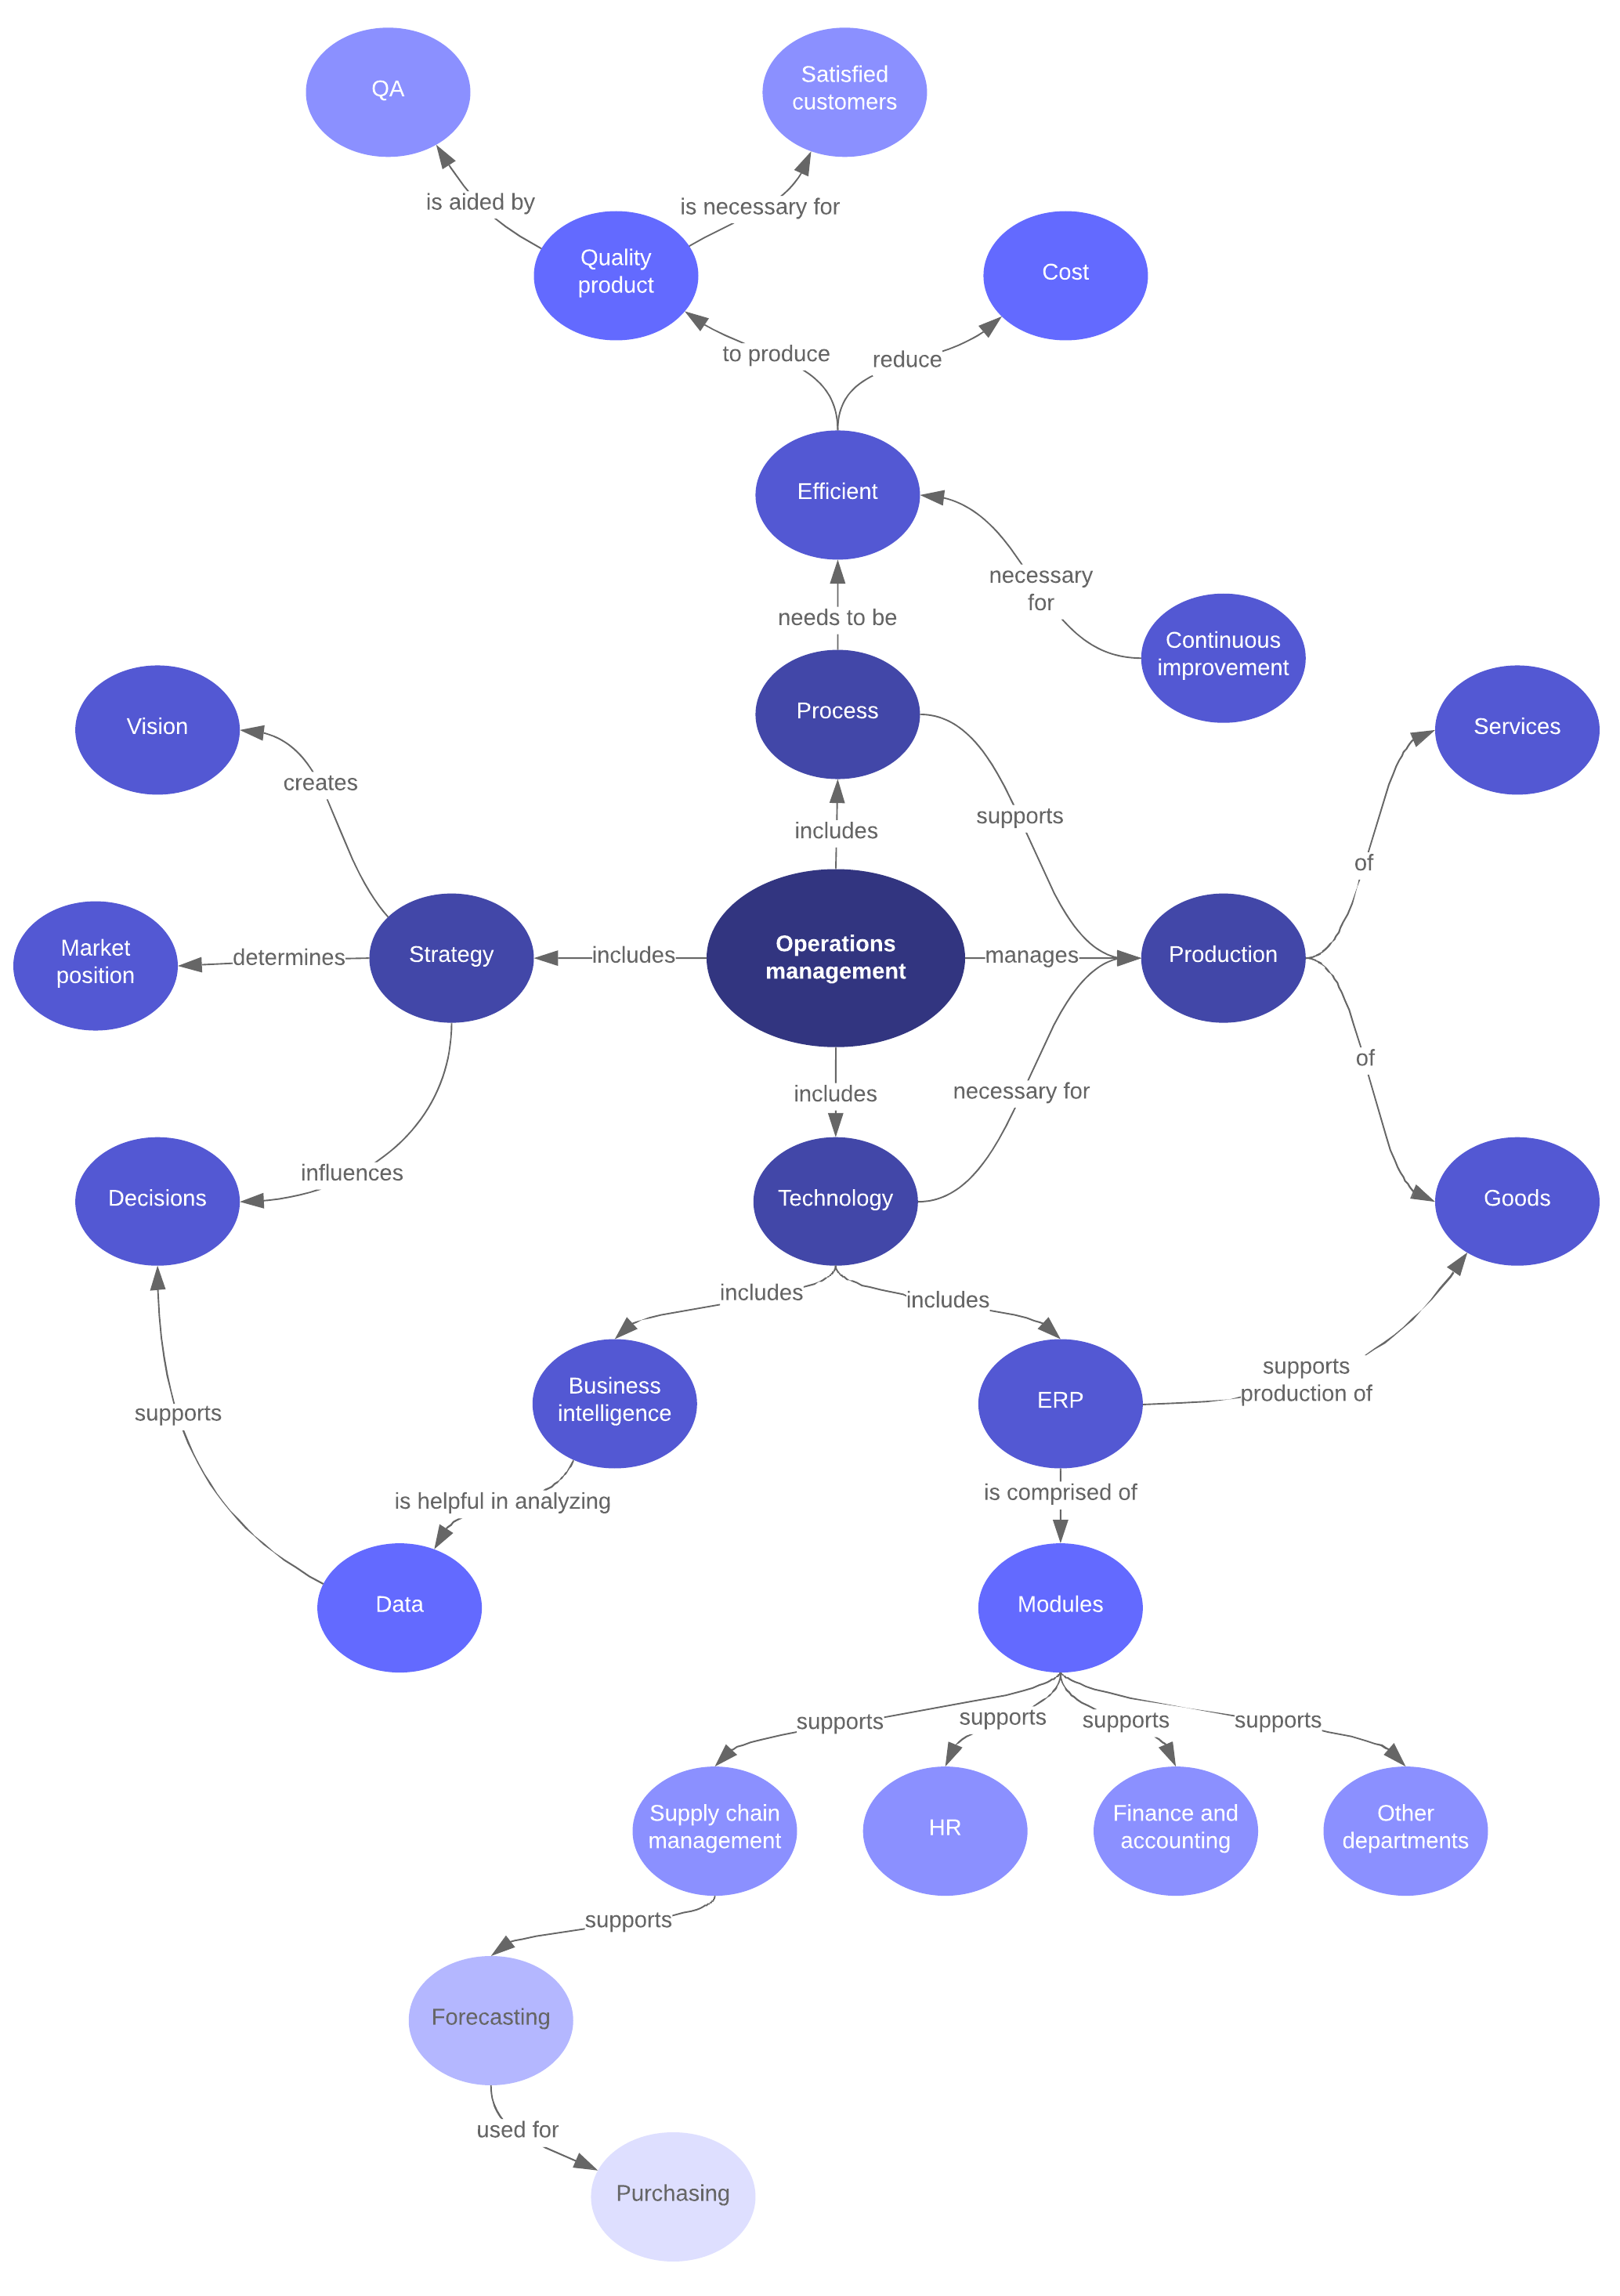
Here are a few examples of what you could do with Lucidchart. Use any of these templates as inspiration or starting points for creating your own concept maps.


How to make a concept map in Google Workspace
Sometimes you might find that you need to include a concept map as part of a business case, a school presentation, or other documentation. Because Lucidchart is integrated with Google Workspace, you can easily insert your concept map in Docs, Sheets, and Slides. Learn how to make a concept map in Google Docs with our free add-on.
How to create a concept map in Microsoft Office
If you use Microsoft Office and not Google Workspace, you can still enjoy all the same benefits because Lucidchart is also integrated with Microsoft Office. Add in concept maps and provide context for data in Excel, engaging visuals in Word, and up-to-date diagrams to PowerPoint. Learn how to make a concept map in Microsoft Word with our free add-on.
Make concept mapping work for you with these easy steps and Lucidchart’s integrations. You’ll be able to spend more time solving problems, improving processes, or putting your ideas into action.

Ready to take your concept map to the next level with Lucidchart?
See howAbout Lucidchart
Lucidchart, a cloud-based intelligent diagramming application, is a core component of Lucid Software's Visual Collaboration Suite. This intuitive, cloud-based solution empowers teams to collaborate in real-time to build flowcharts, mockups, UML diagrams, customer journey maps, and more. Lucidchart propels teams forward to build the future faster. Lucid is proud to serve top businesses around the world, including customers such as Google, GE, and NBC Universal, and 99% of the Fortune 500. Lucid partners with industry leaders, including Google, Atlassian, and Microsoft. Since its founding, Lucid has received numerous awards for its products, business, and workplace culture. For more information, visit lucidchart.com.
Related articles
Concept map templates and examples
Need a concept map to make sense of complex ideas? Lucidchart can get you started—take a look at our customizable concept map templates.
The basics of documenting and analyzing your as-is process
Learn more about documenting your as-is process. Studying your current state helps organizations document, track, and optimize processes for better performance, greater efficiency, and improved outcomes.
When inspiration strikes: 12 effective brainstorming techniques
Want to find new ways to generate ideas? This article will help you unpack different brainstorming techniques, learn the advantages and shortcomings of each, and select the best method for yourself and your team.

