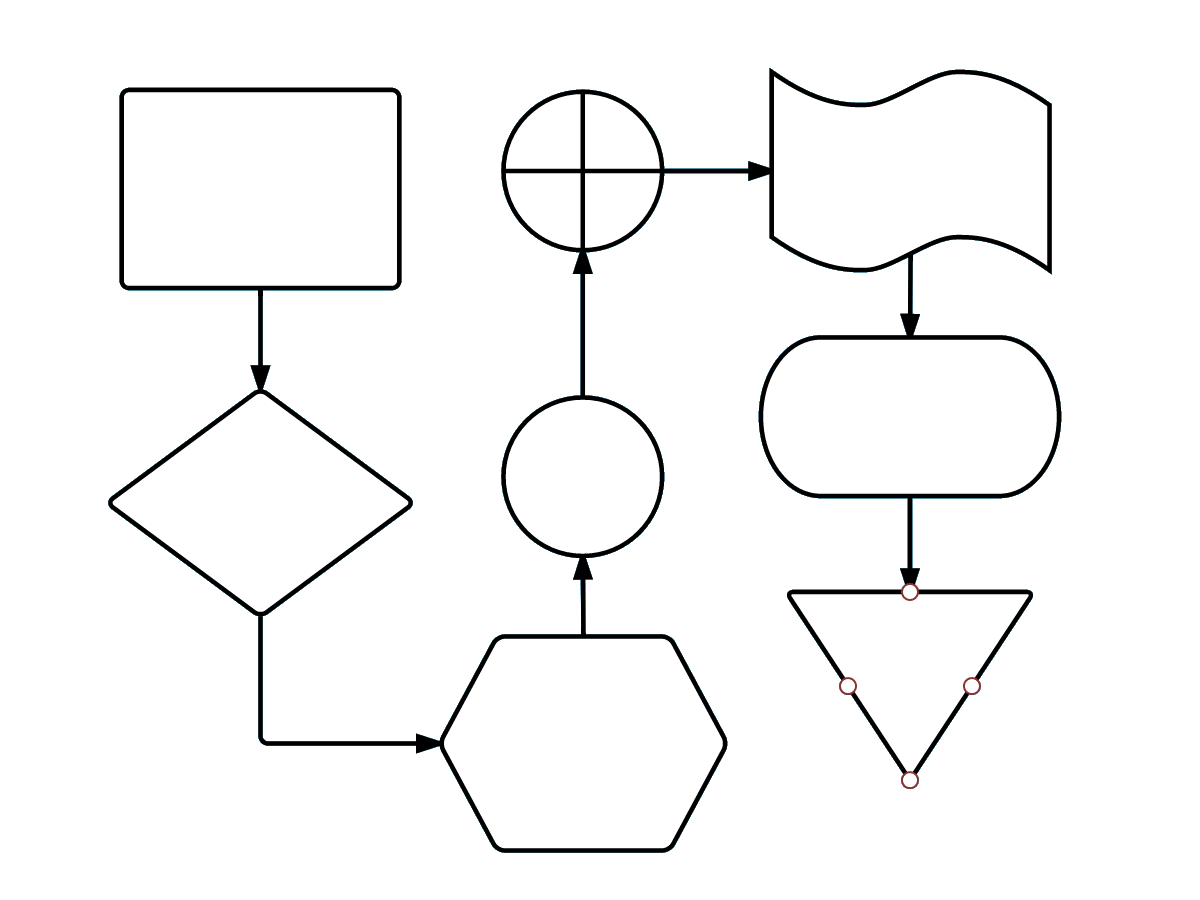
Flowcharts may have a myriad of specialized symbols to choose from, but creating a flowchart itself is surprisingly simple. A successful flowchart should convey information in an organized, efficient, easy-to-read fashion. Use this helpful guide to learn how to make a flowchart in Lucidchart with ease.
3 minute read
Want to create a flowchart of your own? Try Lucidchart. It's fast, easy, and totally free.
Getting started with Lucidchart
Before you begin, you’ll want to set up an account with Lucidchart. It’s free for all first-time users and also free for educators and students when you sign up using your school email address.
Once you’re signed up and have an account, no matter where you are on the Lucichart.com website, you can access the editor and your documents by clicking on the Log In button in the upper right corner which will then display as Documents when you’re actually logged in.
How to make a flowchart
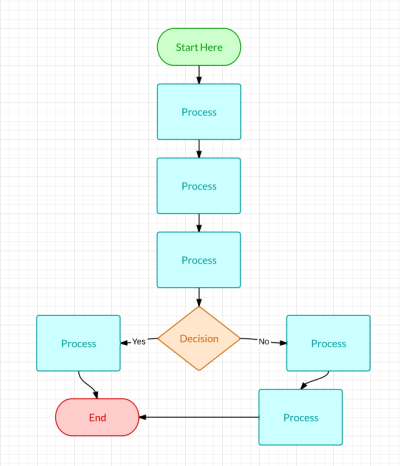
1. Once you’re in the Lucidchart editor, you can choose to start with an existing flowchart template from our template library that you can then proceed to customize or you can start with a blank canvas and make a flowchart from scratch.
2. Click on any shape, drag it onto the editor, and drop it in for placement. You can input whatever info you want including images, animations, and links.
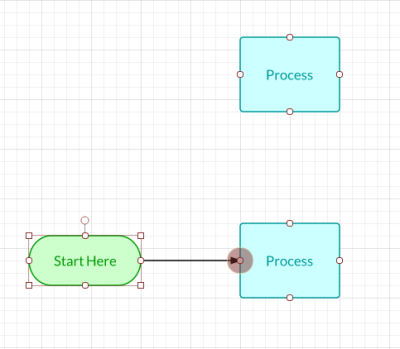
3. To connect shapes, click on the red outlined white dot on any shape and drag a line out to connect or point to your desired location or shape.

When you’re done making your flowchart, you can share it with anyone and customize the settings by clicking the Share button in the upper right corner. You can also publish it in any format when you go to File > Download As or File > Publish. Try it out and see what works best for your collaboration and publishing needs.
Want to create a flowchart of your own? Try Lucidchart. It's fast, easy, and totally free.
Create a flowchartHow to format your flowchart
Edit Shapes
You can customize each and every shape one by one or as a group in Lucidchart. To edit a single shape, click on it and enhance or reduce it to the desired size. Change the color by selecting a shade from the Fill Color icon in the top toolbar or select a pre-made Theme from the right menu. That top toolbar features tools that will allow the option to edit nearly every aspect of your shapes, lines, and text.
Edit Lines
Select any line you’d like to customize and then make your way over to the top toolbar to customize the thickness, line style, even arrow style for your lines.

You can select a single item on your canvas and edit it, but if you click to hold and then select a section or area, you’ll find that you’ve highlighted all the objects within that area and whatever movements or customizations you choose will apply to all the items in that highlighted section.
Mistakes might happen when you’re making your flowchart, but you won’t have to do much reformatting or start all over if things start to get messy. If you ever need to undo your last action, a simple Ctrl+Z shortcut will work. You can also view the entire revision history in the right sidebar under History and restore your current diagram to any previous revision you select.
Add your flowchart to your favorite apps
Now that you know how to make a flowchart and customize it to your liking, it’s important to know that Lucidchart is integrated with all of the popular business, education, and marketing platforms out there from Google to Atlassian to Amazon Web Services. It’s easy to publish and embed your final flowchart or diagram to any of these applications and blow your audience away, giving them a visual, more efficient way to view your shared information.
