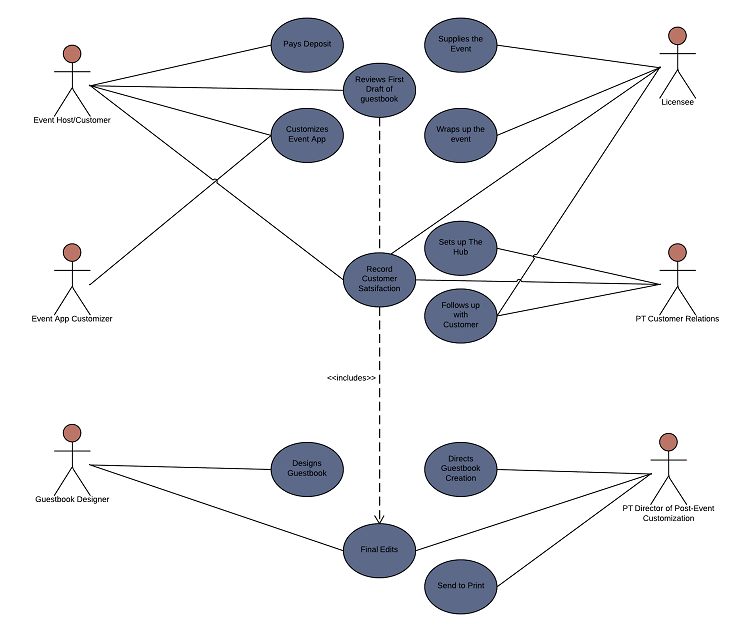
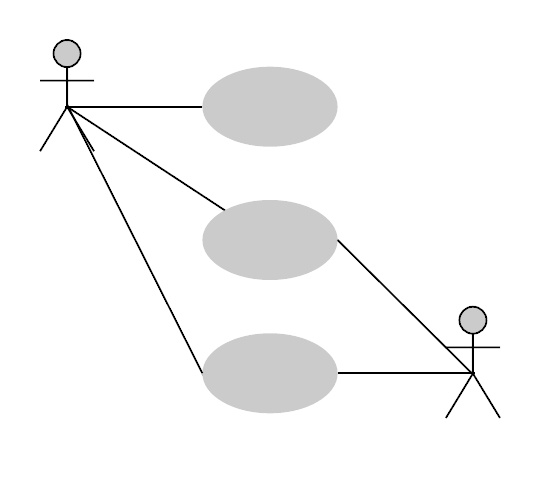
Making a use case diagram doesn't have to be complicated. Once you understand the conventions of UML, you can create and refine UML diagrams. Follow these steps to draw your own use case diagram in UML.
3 minute read
Want to make a Diagram of your own? Try Lucidchart. It's quick, easy, and completely free.
How to draw a use case diagram
Use case diagrams can be tricky, so it's important to understand the basics. Take a look at our use case diagramming tutorial, along with this overview of UML diagrams to refresh your memory. After reviewing the principles of use case diagrams, you're prepared to start diagramming.
Get started with Lucidchart
We recommend that you use Lucidchart to create your use case diagrams. Sign up for a free Lucidchart account to easily create and share your documents with co-workers, classmates, and colleagues. Once you have signed up for a Lucidchart account, open up a blank document or get a head start with one of our preloaded UML templates.
Diagramming is quick and easy with Lucidchart. Start a free trial today to start creating and collaborating.
Make a diagramIdentify components
Use case diagrams differ from other UML diagrams due to their focus on actors and their interactions with a system. A use case diagram should always be organized according to the actor's perspective. Create these diagrams to help your business:
-
Determine where in a workflow users interact with the system.
-
Consider which use cases are inside or outside the scope of the system.
-
Define goals that actors achieve.
Add shapes
Begin by dragging a system boundary box onto your canvas. In Lucidchart, this shape is labeled as a rectangle container. In a development use case, systems represent what you are developing, such as a software component or a complete suite.
Next, focus on the actors. Your use case diagram should reflect the actor's perspective, so ask yourself what the end user wants from the system. Actors are represented by stick figures, a fitting symbol since actors are often people. Rename your actors to reflect their role.
Add use cases
Now it's time to drag use cases onto your system. These ovals represent the activities that actors will perform with the help of your system. For example, if you're developing a check-in mobile application, the system would be the app, and the actor would be the user. Possible use cases would be checking in, searching for a nearby venue, and finding friends.
Start with major activities or transactions, leaving sub-activities for later. Place each use case in the system that supports it, and draw use cases not supported by your system outside the box. For instance, if your check-in app does not support taking photos, but it's on the agenda for a future release, put it outside the system. Drag lines from the actors to the use cases by pulling out a line from the red dots that appear when you hover over the shape.
Customize your diagram
Now you should have a simple use case diagram. There are several ways you can customize your chart: add a color scheme, change the font, or add notes.

Publish, implement, and share
Congratulations! You have created a beautiful diagram with Lucidchart. To show off your good work (or to explain the functionality of your system to others), download your diagram to send to co-workers and friends. Click File > Download As and select your desired file type.
If you would prefer to collaborate and allow others to contribute to the diagram, click the "Share" button at the top-right corner of the Lucidchart editor. Feel free to share your document with both Lucidchart users and non-users.
Lucidchart is also fully integrated with all your favorite apps. Add diagrams to your Google Docs, Microsoft PowerPoint slides, or company wiki page in Confluence using our add-ons. Use Lucidchart integrations to streamline implementation.
