While ERDs may seem hard, they’re not as tricky as they appear. Entity-relationship diagrams can easily be built with the shapes included in a free Lucidchart account. Follow these steps to begin diagramming!
2 minute read
Want to make an ERD of your own? Try Lucidchart. It's quick, easy, and completely free.
Identify the components
Entity-relationship diagrams are incredibly useful, and you can easily create one of your own by following these simple steps.
1. Determine the entities: Entities are typically nouns such as car, bank, student, or product.
In an ER Diagram, entities are the most important parts. To proceed, we will be creating a conceptual ER diagram of a simple system in which a student registers for a course that is taught by a professor. Check out this awesome tutorials to review ER Diagram Shapes. In this example, the three entities are “Student,” “Course,” and “Professor.”

2. Identify the relationships: Relationships highlight how entities interact with each other.
Relationships are typically verbs such as “buys,” “contains,” or “does.” In our example, the relationships “Registers for” and “Teaches” effectively explain the interactions between the three entities.

3. Add attributes: Attributes show specific characteristics of an entity, refining what information is important to the model.

4. Complete the diagram
Organizing the ERD in a logical way is incredibly important to increase comprehension. The main purpose of entity-relationship diagrams is to model a complex database, so learning how to create simple, logical ERDs is key.
How to create an ER Diagram
Lucidchart is a free tool that will allow you to diagram your database online and it's free when you register. Sign up is simple and you can start diagramming your databases immediately!
Enable ERD shape libraries
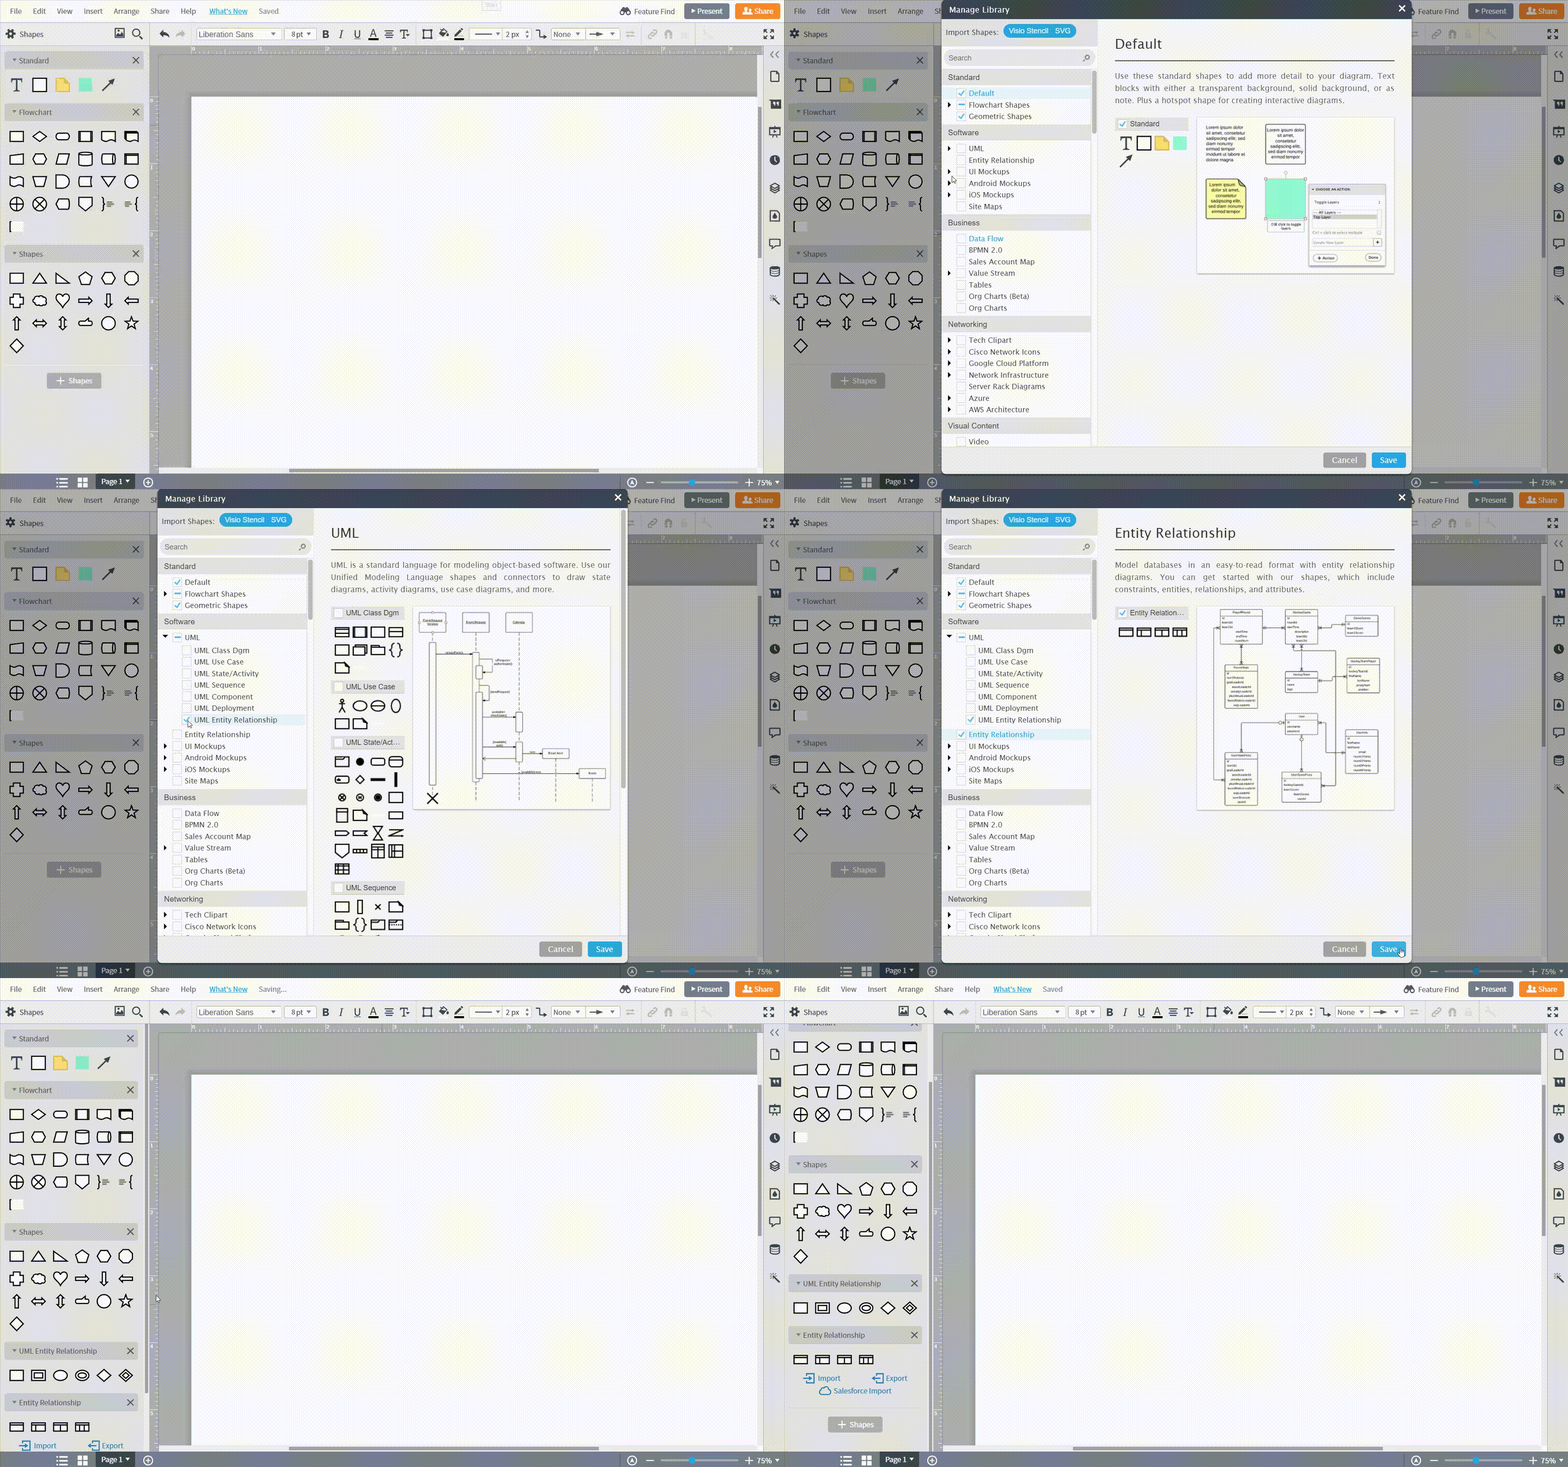
In a new document, make sure that the entity-relationship shapes libraries are enabled by clicking on the “+ Shapes” button found in the left menu.

Drag and drop shapes
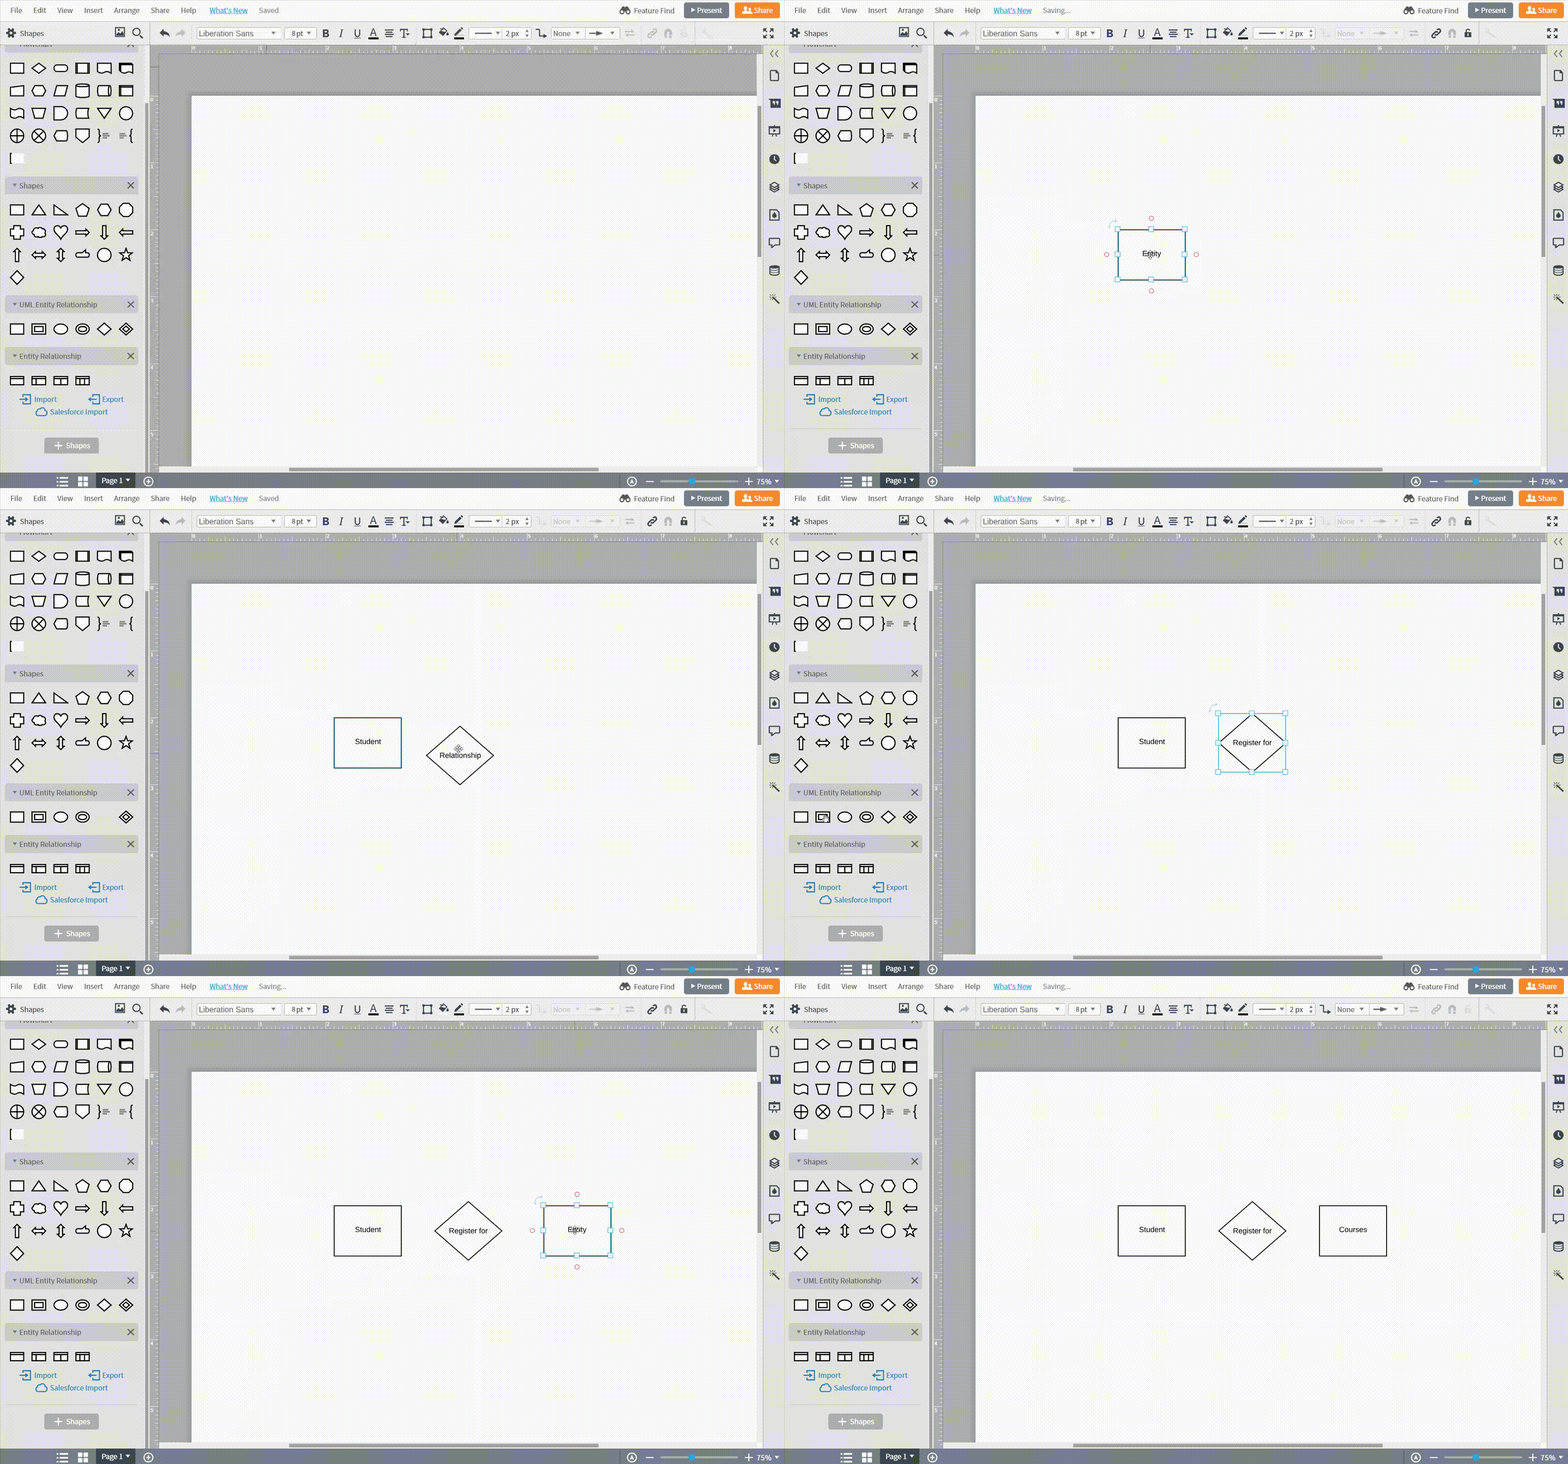
Once you have enabled the entity relationship shapes, add shapes to the canvas by clicking on the desired shape, and dropping it wherever you want it.

Connect shapes
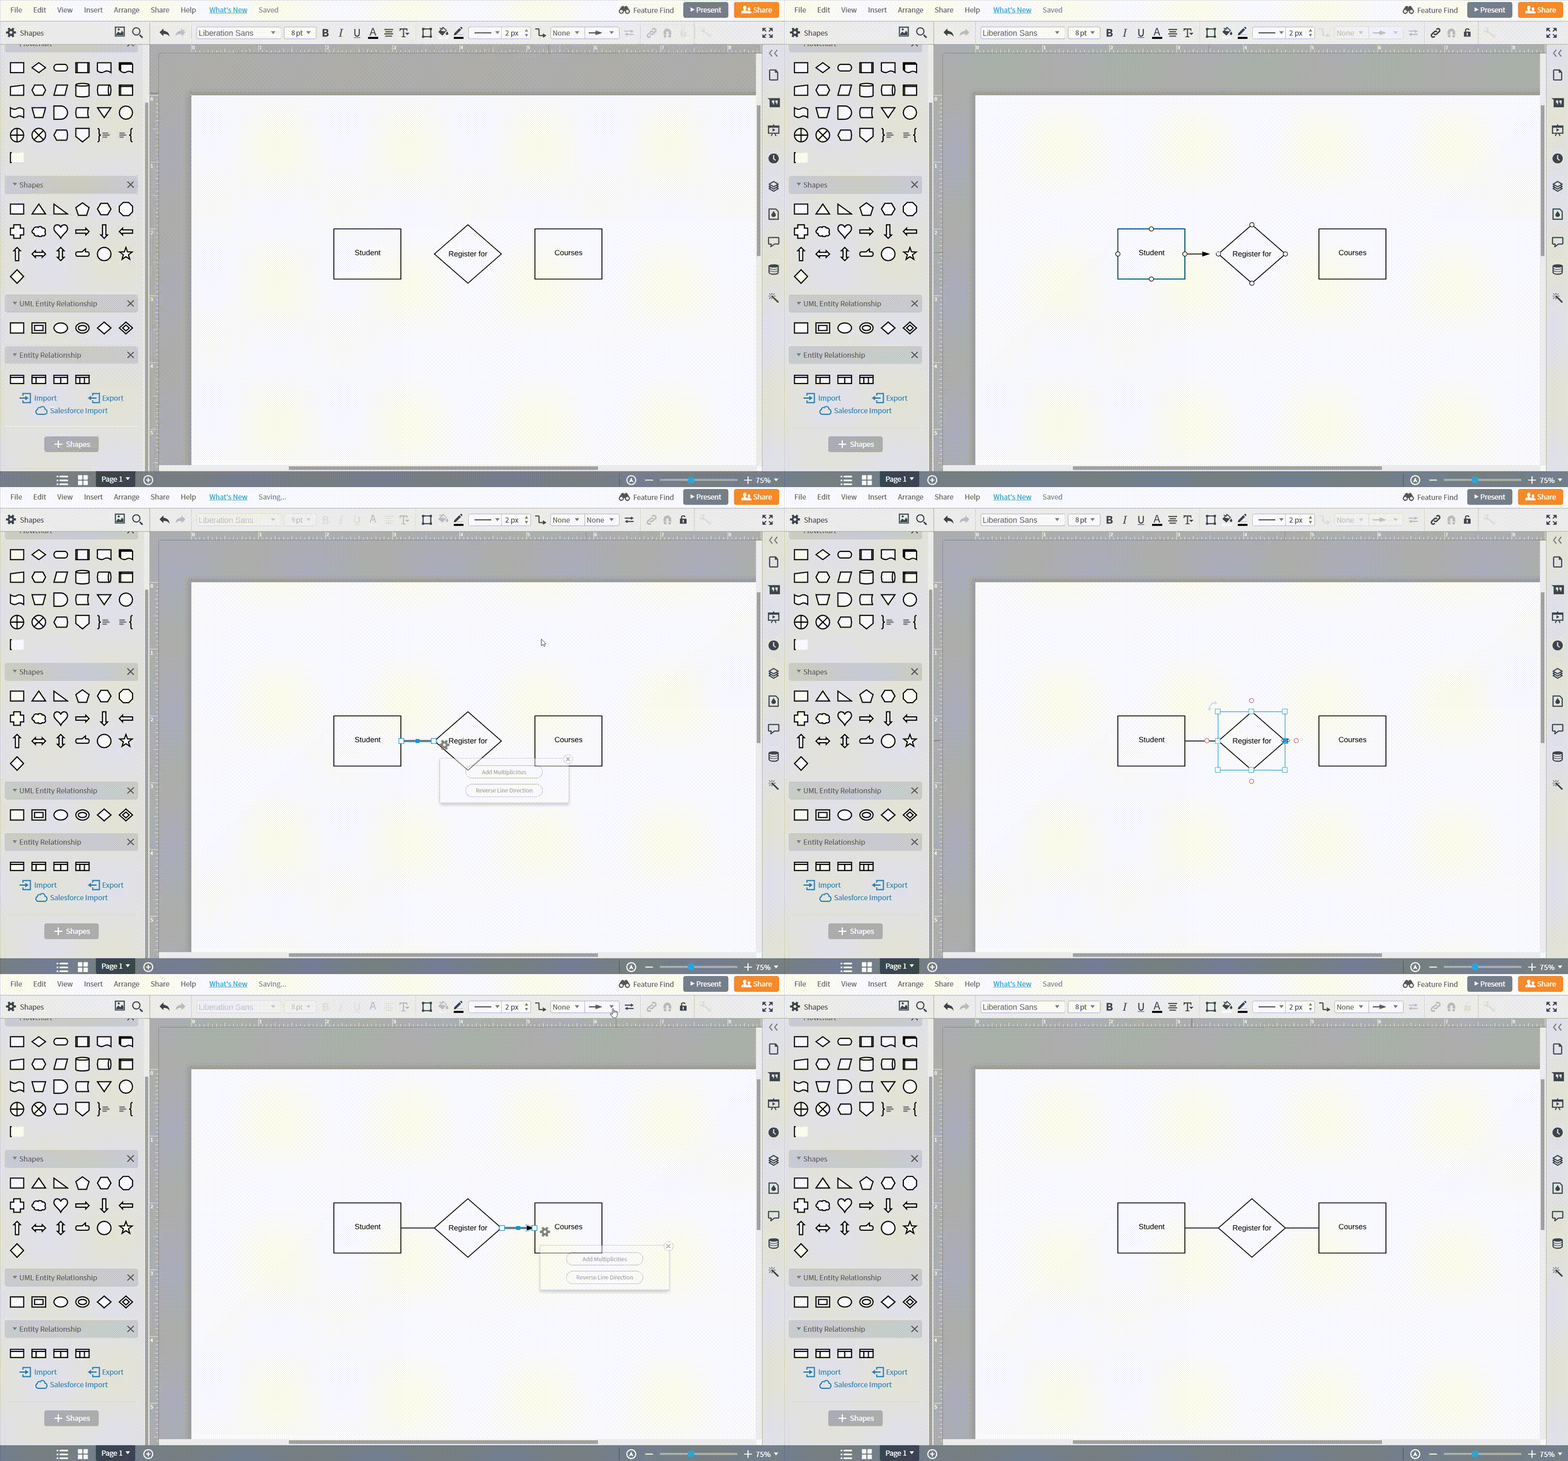
After placing the appropriate shapes on the canvas, connect the shapes by dragging out from the red dots at the borders of the shapes. Then, you can change the line ending in the toolbar above the canvas.
